What this is
Beyond drawing a whole layout in one shot, there's a common need one level down: circle an area you want to use, then tile it with many copies of one thing, each uniquely identifiable -- sites on a sensor array, dies on a wafer, cells in a test-structure matrix. The layoutintent domain (new in klink 0.5.0) splits that into four explicit RPC calls:
drag rulers around a spot          (KLayout's own ruler tool: box / ellipse)
  -> region.claim                  rulers become ONE Region marker PCell
  -> intent.prepare                analyze + plan + validate (writes nothing)
  -> intent.apply                  one transaction, one Ctrl+Z
  -> intent.regenerate             change numbering / pitch, swap the output atomically
This tutorial walks two runnable demos: region_claim_fill.py (claim an area + fill it, no numbering involved) and region_array_labeled.py (the full hero flow: claim → plan/preview → apply → regenerate). The layers, sizes, and pitches in both scripts are example-owned demo data -- klink itself ships not one of those numbers.
The runnable starter shipped in the template is example_template/layout_intent/region_numbered_array.py (new in the template): it folds the whole flow above -- build the scene, circle the numbering slot, circle the target area, intent.prepare, intent.apply, intent.regenerate -- into one script, rerunnable with python example_template/layout_intent/region_numbered_array.py --port <session-port>. The screenshots below are a replay of that starter.
Prerequisites
- Install klink:
pip install klayout-klink. - You need a live KLayout session (klink plugin installed, port 8765 listening) -- this path is not offline:
region.claim/intent.*are plugin-side RPCs that edit the live layout directly. No extra optional dependencies are needed (no gdsfactory, numpy, or bpy).
KLinkClient().connect() and no --port argument. Use an empty or test-dedicated window, not your hand-built working tab -- each script starts by deleting any old demo cell of the same name before rebuilding it.1Claiming a Region
A Region is a claimed area: a klink_Region PCell on the reserved marker layer (default 999/10, configurable via region.set_layer). It lives in your layout -- it travels with the GDS, survives restarts, and can be clicked + SENT to the agent like any other object. Rulers are only the input gesture: a successful claim consumes the rulers it used (undo brings back both the rulers and the pre-claim state).
Claims compose several rulers with three roles:
| role | meaning | example |
|---|---|---|
include | union (default) | two boxes → L-shape |
clip | intersect | ellipse ∩ box → half disc |
exclude | subtract (holes are never writable) | circle − circle → annulus |
Ellipses are discretized conservatively: include/clip use an inscribed polygon, exclude a circumscribed one -- the writable area only ever shrinks, never crosses what you drew. The result must be one connected component; disconnected islands are rejected with their bboxes so you can claim them separately.
region_claim_fill.py draws one big box as include, then an ellipse as exclude that bites a corner off it -- the same two shapes the ruler tool produces in real use; the script draws them programmatically with annotation.insert so it can be re-run offline:
include = c.call("annotation.insert", {
    "points_um": [[0, 0], [200, 140]],
    "outline": "box",
    "category": "klink_demo_region",
})["ruler"]["id"]
exclude = c.call("annotation.insert", {
    "points_um": [[140, 80], [220, 160]],
    "outline": "ellipse",
    "category": "klink_demo_region",
})["ruler"]["id"]

claimed = c.call("region.claim", {
    "cell": "REGION_DEMO",
    "layer": "999/10",
    "rulers": [
        {"id": include, "role": "include"},
        {"id": exclude, "role": "exclude"},
    ],
})
# claimed["name"], claimed["klink_id"], claimed["area_um2"] == 24810.9
Once claimed, a Region is useful on its own, before any generation:
region.getreturns the polygon -- feedhull_umtocell.fill_regionregion.occupancyreports what is inside: per-layer obstacles, named obstacle cells, free areaview.zoom_boxonbbox_umnavigates there
region_claim_fill.py then does the simplest thing with it -- no numbered array, just feeding the Region's polygon to cell.fill_region:
got = c.call("region.get", {"name": claimed["name"]})
filled = c.call("cell.fill_region", {
    "cell": "REGION_DEMO",
    "fill_cell": "REGION_DEMO_SENSOR",
    "polygons_um": [got["hull_um"]],
    "exclude_layers": ["10/0"],
})
# filled["placed"] == 308, filled["remaining_area_um2"] == 2098.9
Measured output: claimed area 24810.9 µm², fill placed 308 tiles, remaining_area_um2 2098.9 (the uncovered rim -- only tiles that fit entirely inside the region are placed; placed × footprint area + remaining == region area checks out).
2Plan and apply: a numbered array
intent.prepare plans a pitch grid of any existing cell inside a Region, with a unique physical number label per copy (real polygon text, previewed exactly as it will be applied). Nothing is written until you confirm with intent.apply.
Everything is explicit -- klink ships no process defaults:
- Obstacles are whatever you declare:
obstacle_layers(your design layers),obstacle_cells(named device/blackbox cells -- every instance occurrence counts by bbox),extra_obstacles_um(free-form polygons), plusclearance_um. Declaring none requires an explicitallow_empty_obstacles: true. - Instances, not polygons: the arrayed thing is an instance of your cell, with
rotation_deg(0/90/180/270) andmirrorsupported. - Labels have two modes:
- offset:
{layer, height_um, offset_um}relative to each footprint center; - slot (recommended): circle a small region inside the unit cell that says "the number goes here", and pass
{layer, slot_region: "R00X"}. Every copy gets its own number auto-fitted into its own slot; the slot moves and rotates with the instance. Drag the slot and regenerate -- every number follows.
- offset:
- Numbering has two modes:
- prefix:
{prefix: "S", width: 3, start: 1, order: "top_down"}→ S001, S002, … - pattern: any grid notation your project uses --
"{row}+{col}"→ 1+2,"{row}-{col}"→ 1-3,"R{row}C{col}","{row:A}{col}"→ A1 (letters), with per-axis{start, step, order}. Rejected sites never leave numbering gaps.
- prefix:
Every plan is validated before you see it: footprint and label containment, obstacle clearance, overlap, duplicate numbers. A plan with problems cannot be applied; a layout that changed between prepare and apply is refused (re-prepare).
region_array_labeled.py walks the full flow: first circle a text slot inside the unit cell, then circle the target area -- both are region.claim calls -- then intent.prepare to plan and intent.apply to confirm:
# 2a. circle the text SLOT inside the unit cell ("the number goes here")
rid_slot = c.call("annotation.insert", {
    "points_um": [[0.5, 0.5], [7.5, 2.5]],
    "outline": "box",
    "category": "klink_demo_intent",
})["ruler"]["id"]
slot = c.call("region.claim",
              {"cell": "INTENT_DEMO_SENSOR", "rulers": [{"id": rid_slot}]})

# 2b. circle the target area
rid = c.call("annotation.insert", {
    "points_um": [[0, 0], [140, 100]],
    "outline": "box",
    "category": "klink_demo_intent",
})["ruler"]["id"]
region = c.call("region.claim",
                {"cell": "INTENT_DEMO", "rulers": [{"id": rid}]})

# 3. prepare (pure analysis + plan; nothing written)
preview = orchestrator.prepare(
    c, store,
    region=region["name"],
    source_cell="INTENT_DEMO_SENSOR",
    obstacle_layers=["10/0"],
    pitch_um=[20.0, 20.0],
    numbering={"prefix": "S", "width": 3, "start": 1, "order": "top_down"},
    label={"layer": "20/0", "slot_region": slot["name"], "margin_um": 0.2},
    instruction="tile a SENSOR array here, numbers go in each cell's text slot",
)
# preview["placed"] == 31, 4 rejected for hitting the obstacle
# preview["label_range"] == ("S001", "S031"), preview["label_height_um"] == 1.59

# 4. apply (one transaction, one undo step)
result = orchestrator.apply(
    c, store, plan_id=preview["plan_id"],
    plan_hash=preview["plan_hash"], confirm=preview["plan_id"])
# result["container_cell"], result["instances"] == 31, result["label_shapes"] == 167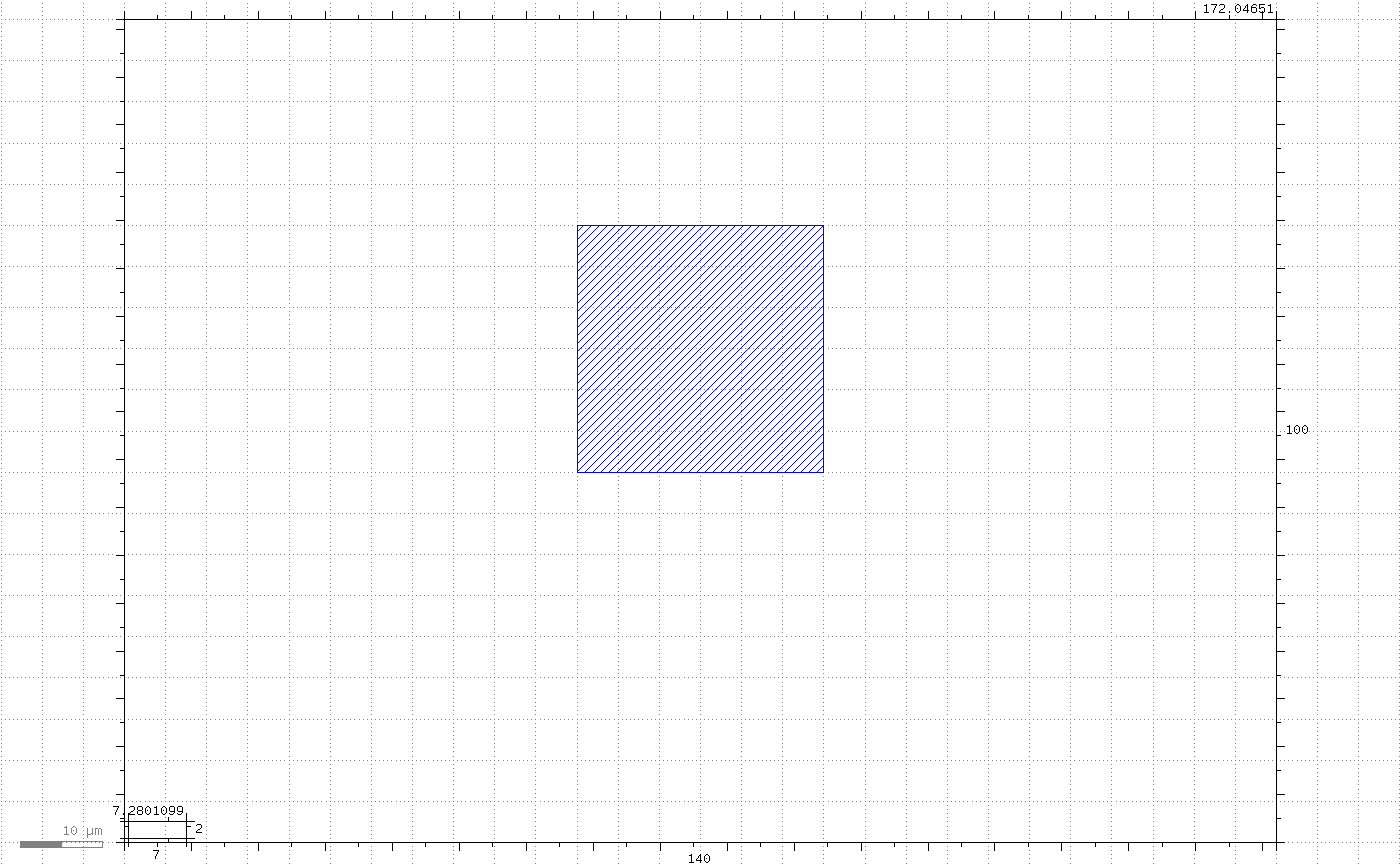
SLOT_BOX_UM) inside the unit sensor cell, the big box circles the 140×100 µm target area with the example obstacle OBSTACLE_BOX_UM inside it.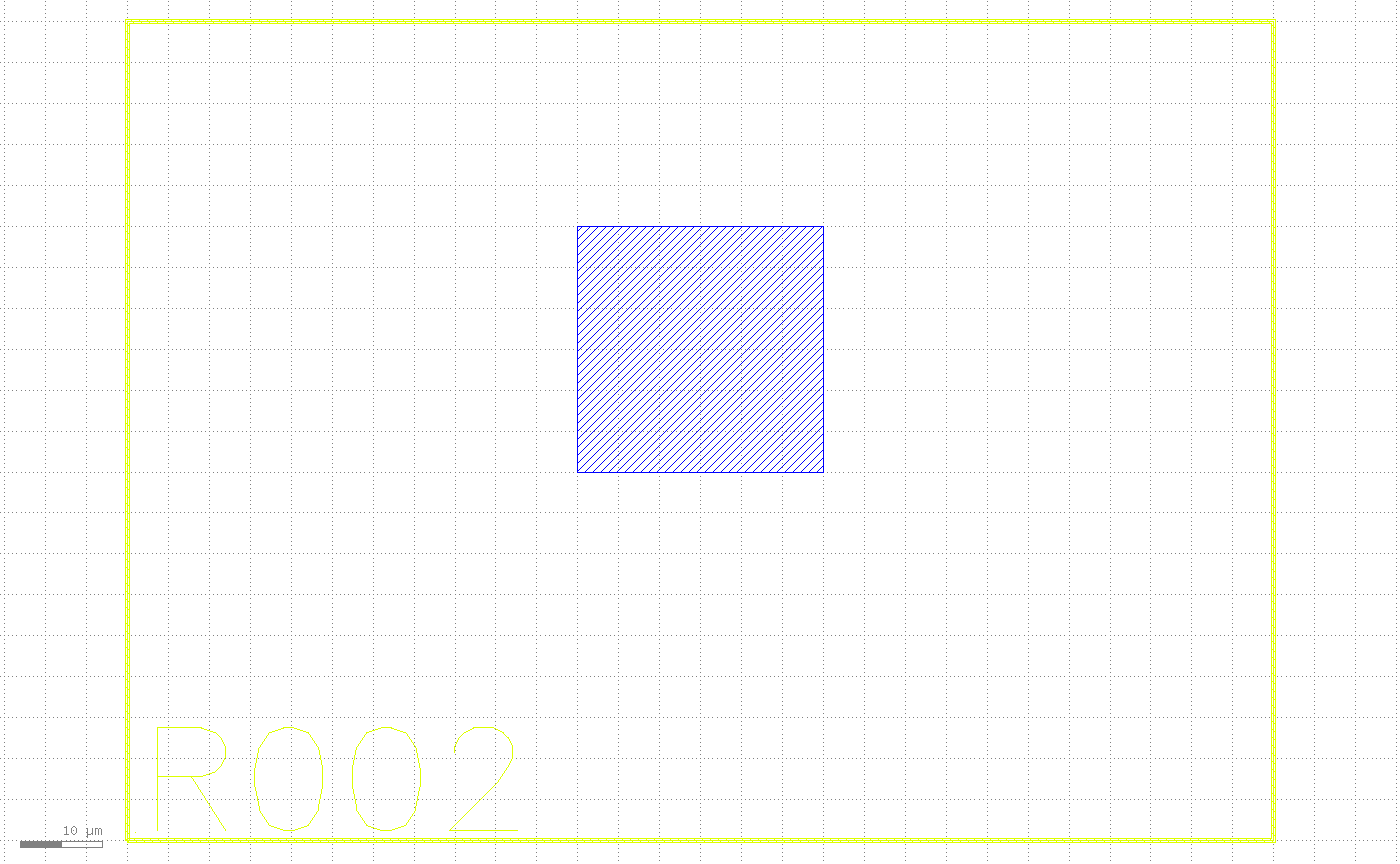
region.claim: the ruler is consumed and replaced by the Region marker outline plus its R-name text.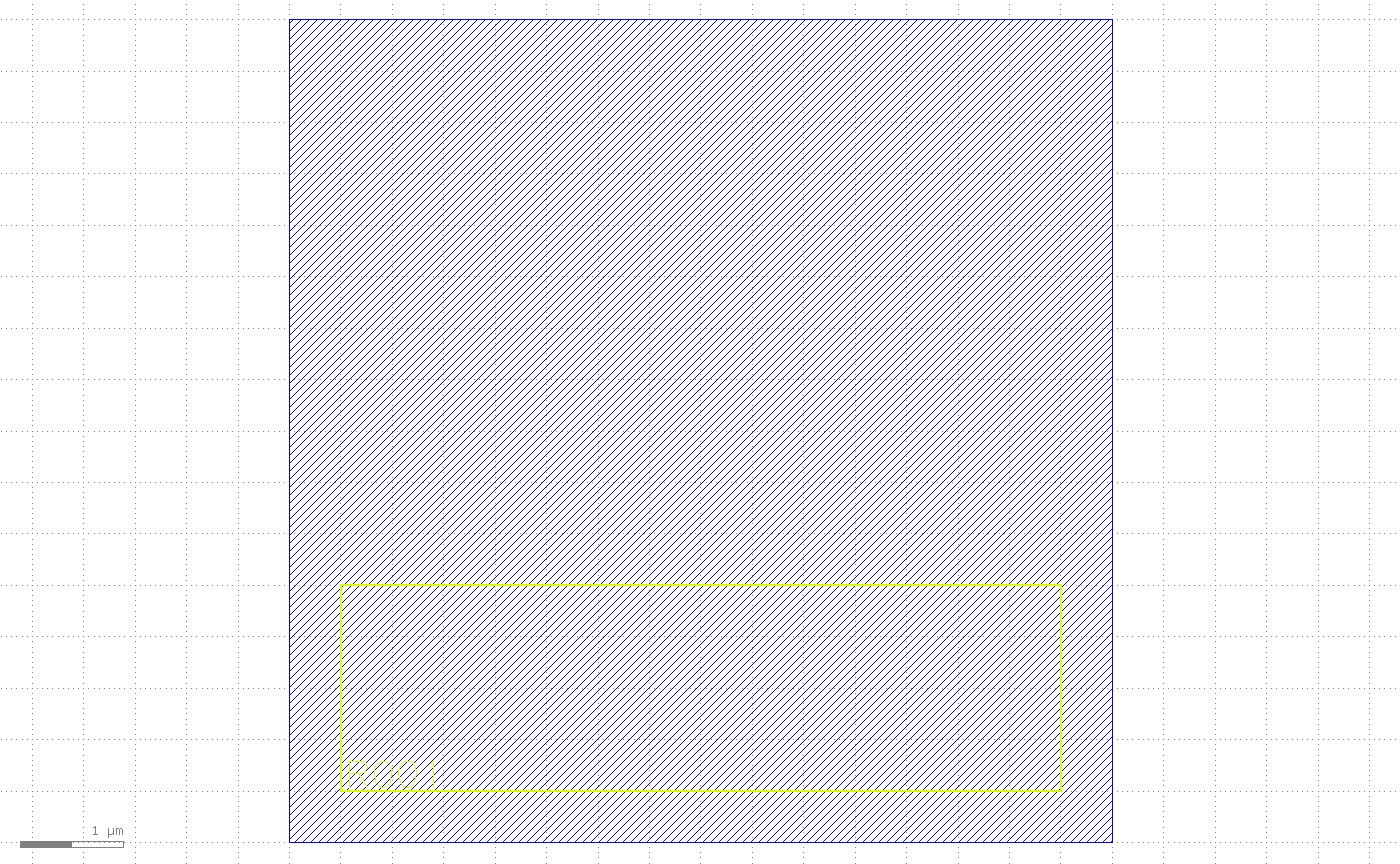
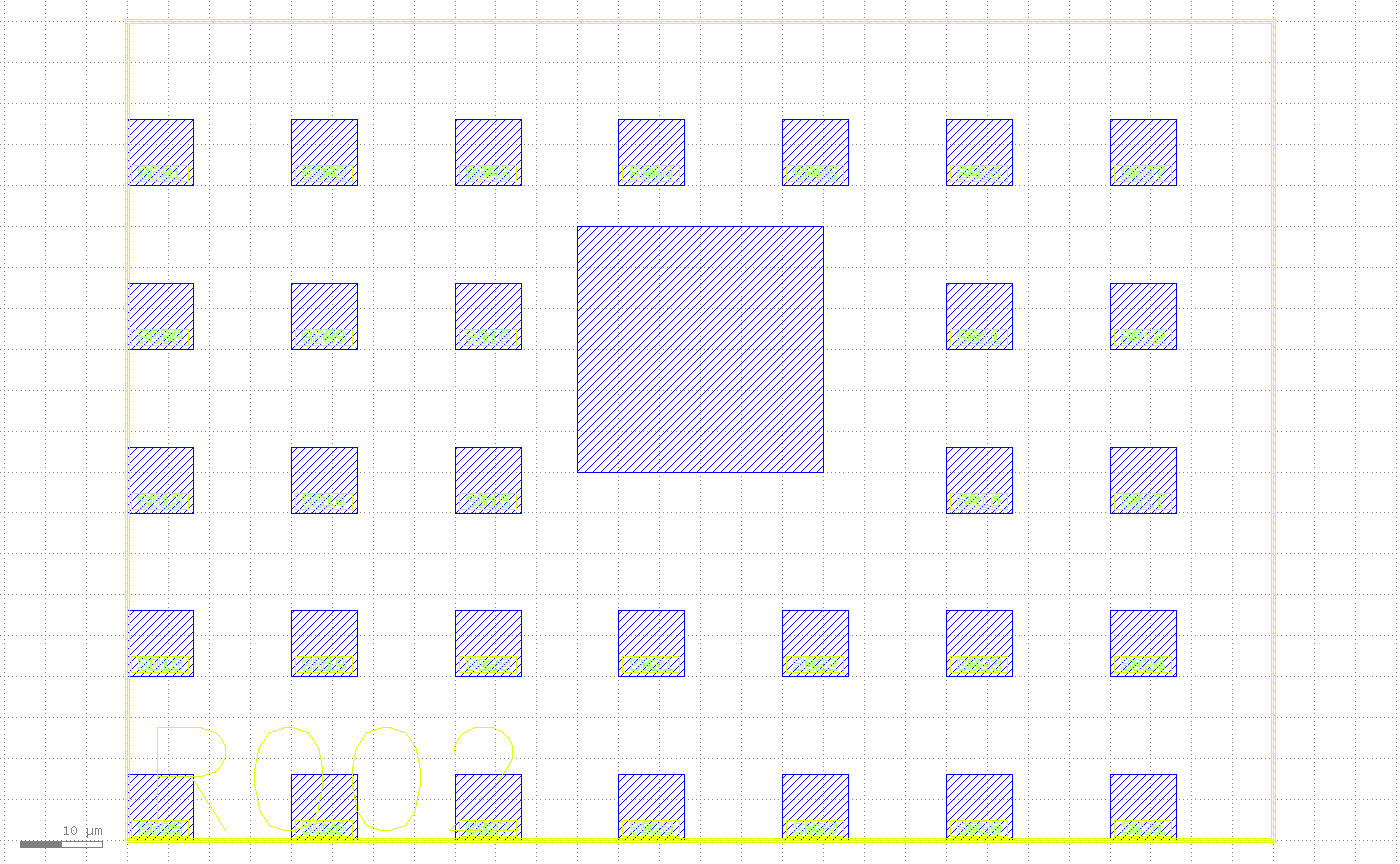
intent.apply: 31 sensor instances tile the region, with an unplaced gap around the obstacle; each instance's own number (S001..S031) is fitted exactly into its own text slot, and the region outline and name are still visible.Measured output: region area 14000 µm², preview placed 31 (4 rejected for hitting the example's OBSTACLE_BOX_UM obstacle), labels S001..S031, font auto-fit to the slot at 1.59 µm; applied → 31 instances, 167 label polygons (each digit label is built from several glyph polygons).
3Regenerate semantics
Applied output lands in a dedicated KLINK_I_* container cell with a stable identity, so changing your mind later doesn't mean manually cleaning up and redrawing:
- Atomic container swap:
intent.regeneratereplaces only the one container cell this intent previously generated, as a single whole swap -- not instance-by-instance edits. - Diverged refusal: if you hand-edited the output (added an instance by hand inside the
KLINK_I_*container, deleted a label), regenerate detects the divergence and refuses -- your hand edits are never silently overwritten. - One Ctrl+Z:
applyitself is one transaction, so one undo reverts the whole apply (or the whole regenerate) at once.
region_array_labeled.py regenerates with a new numbering start, passing only what changed:
# 5. regenerate with a new numbering start; apply swaps the old container
preview2 = orchestrator.regenerate(
    c, store, intent_id=result["intent_id"],
    parameters_patch={"numbering": {"start": 201}})
result2 = orchestrator.apply(
    c, store, plan_id=preview2["plan_id"],
    plan_hash=preview2["plan_hash"], confirm=preview2["plan_id"])
# preview2["label_range"] == ("S201", "S231")
# result2["container_cell"] replaced result2["replaced_container"]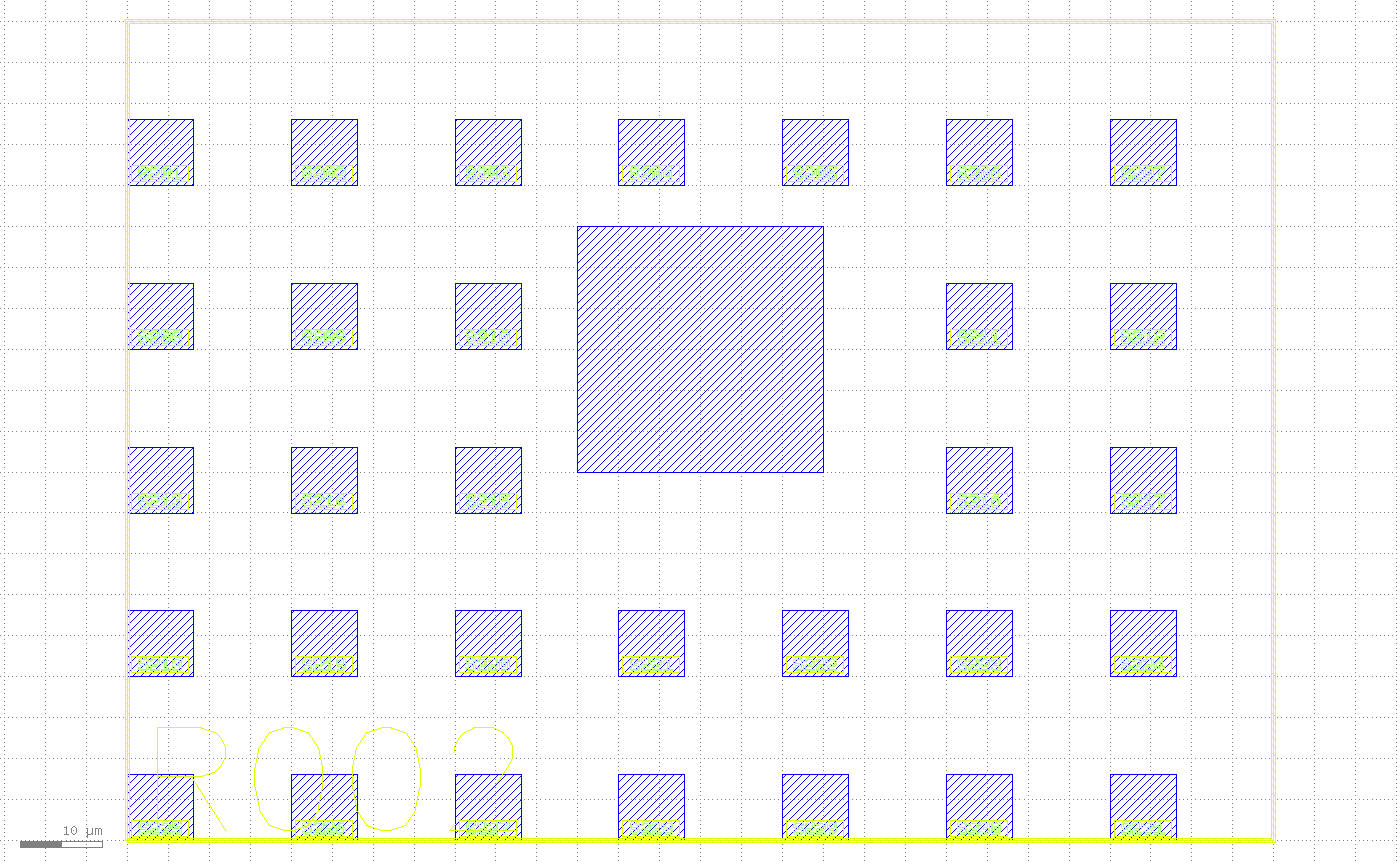
intent.regenerate with a new numbering start: the same 31 positions look identical, but the numbers now read S201..S231 -- the container was atomically swapped as a whole, not edited label by label.Measured output: after regenerating, labels read S201..S231; one container wholly replaced the other (replaced_container reports which one was swapped out), and the whole apply still counts as one undo step.
Delivery: clean export
Region/Port/Anchor markers are working aids on reserved layers -- they must never reach a mask. layout.export_clean is the fail-closed exit:
c.call("layout.export_clean", {
    "path": "out.gds",
    "allowlist_layers": ["10/0", "20/0"],
    "cells": ["TOP"],
})
It removes every klink marker by PCell type (not by guessing layer numbers), writes only your explicit layer allowlist, strips PCell context, re-reads the output file to verify it, and only then promotes it into place. The live layout is never touched -- layout.save_file remains the full working archive; the two serve different purposes.
cells parameter: scope the export to those top cells and their hierarchy -- without it, every top cell in the layout goes into the file, including unrelated ones from a shared session (found by a blind test after the 0.5.0 release). Re-read verification now also refuses out-of-scope top cells; an unknown cell name gets an instructive error.Note that generated KLINK_I_* container cells are real design content, not markers: the export keeps (and verifies) them -- only working markers on reserved layers like Region/Port/Anchor get stripped.
Site engine (fabrication domain)
The deterministic grid/numbering core behind intent.prepare is shared with the fabrication domain and usable directly, without going through the Region/intent layer:
generate_grid_sites/generate_circular_die_sites-- site grids over a bbox or a circular dienumber_sites-- rowcol / sequential / prefix / serpentine schemes withorderandstartpattern_site_ids-- the grid-notation engine behind numbering patterns, the same oneintent.prepare'snumbering.patternmode is built on
python -m examples_klink.public.features.fabrication_sites # [--port <session-port>] [--keep]The example is a circular-die site layout (10 mm diameter, 1 mm pitch, 500 µm edge exclusion), placed once dry-run and once live; every site gets a placeholder device instance plus a prefix-numbered label (D001, D002, …), and four named mark cells go at the die corners. Measured output: dry-run and live site counts agree at 61; 65 instances inserted (61 device + 4 marks); 61 number-label text shapes on 6/0.
What this does NOT do
- It does not invent a device: what gets arrayed is always an instance of a cell you already have -- a PCell or a static cell.
layoutintentdoes not design or fit a device for you; that capability lives on a different path (thestructdevicefit/netlist P&R flow, see the fit-device tutorial). - It ships no process defaults: obstacle layers, clearance, label font size, and the numbering scheme are never guessed -- an undeclared one is an instructive error (e.g.
allow_empty_obstacles). - It is not a full DRC signoff: the obstacle-clearance check inside
intent.prepareis a placement-planning check, not a full DRC deck; real DRC/LVS is the DRC · LVS guide. - Export never guesses layer numbers:
layout.export_cleanwrites only your explicitallowlist_layers; klink markers are removed by PCell type, not by a layer-number blacklist guess.
Next steps
Copy region_claim_fill.py or region_array_labeled.py into your own project, swap in your real cell, layer numbers, pitch, and obstacle declarations, and rerun the scripts unchanged. To work against the MCP tools directly, klink.find_tools domain=layoutintent shows the full region.*/intent.* parameter list and usage notes.